What app did you use to edit this? Is this iPhone? How did you do that?
These are the top three questions I get asked on Instagram, and so I thought I’d do a little write up on my answers, and give you some tips and tricks on taking photos.

1. Is this iPhone?
If you’re looking at my Instagram account, then yes, 99% of my work on Instagram is taken with my iPhone. I will post the occasional photo taken by my Canon camera, or even a film camera that I’ve scanned into my computer, but the majority of my work on Instagram is taken by my iPhone. Why? Because it’s the camera I have on me 99% of the time. The only time I don’t have my iPhone on me is when I’m showering, and even then, there are cool underwater phone cases if you really can’t stand the withdrawals. I love my iPhone so much that I wrote a comparison between iPhone photos verses Canon 5d m iii photos on my blog, and I have an entire section on my website of personal work that is solely my iPhone photos.
2. What app did you use to edit this?
Both the Instagram community and even some of my clients ask this question. I think it’s a weeee bit silly, because I don’t think editing is entirely what makes a photo. A good eye, some pretty light and the right mood/emotion are what make a good photograph, but I will admit, editing can give your photos that extra little pop they may need. So, what do I use to edit my (iPhone) photos?
- VSCO - I loooove VSCO cam so much. I love the tones VSCO produces, not to mention how it totally makes skin illuminate and shine. VSCO cam gives your photos a really nice film look, without going overboard. The VSCO filters are timeless, moody (in just the right way) and add some beautiful colors I haven't been able to get with any other app.
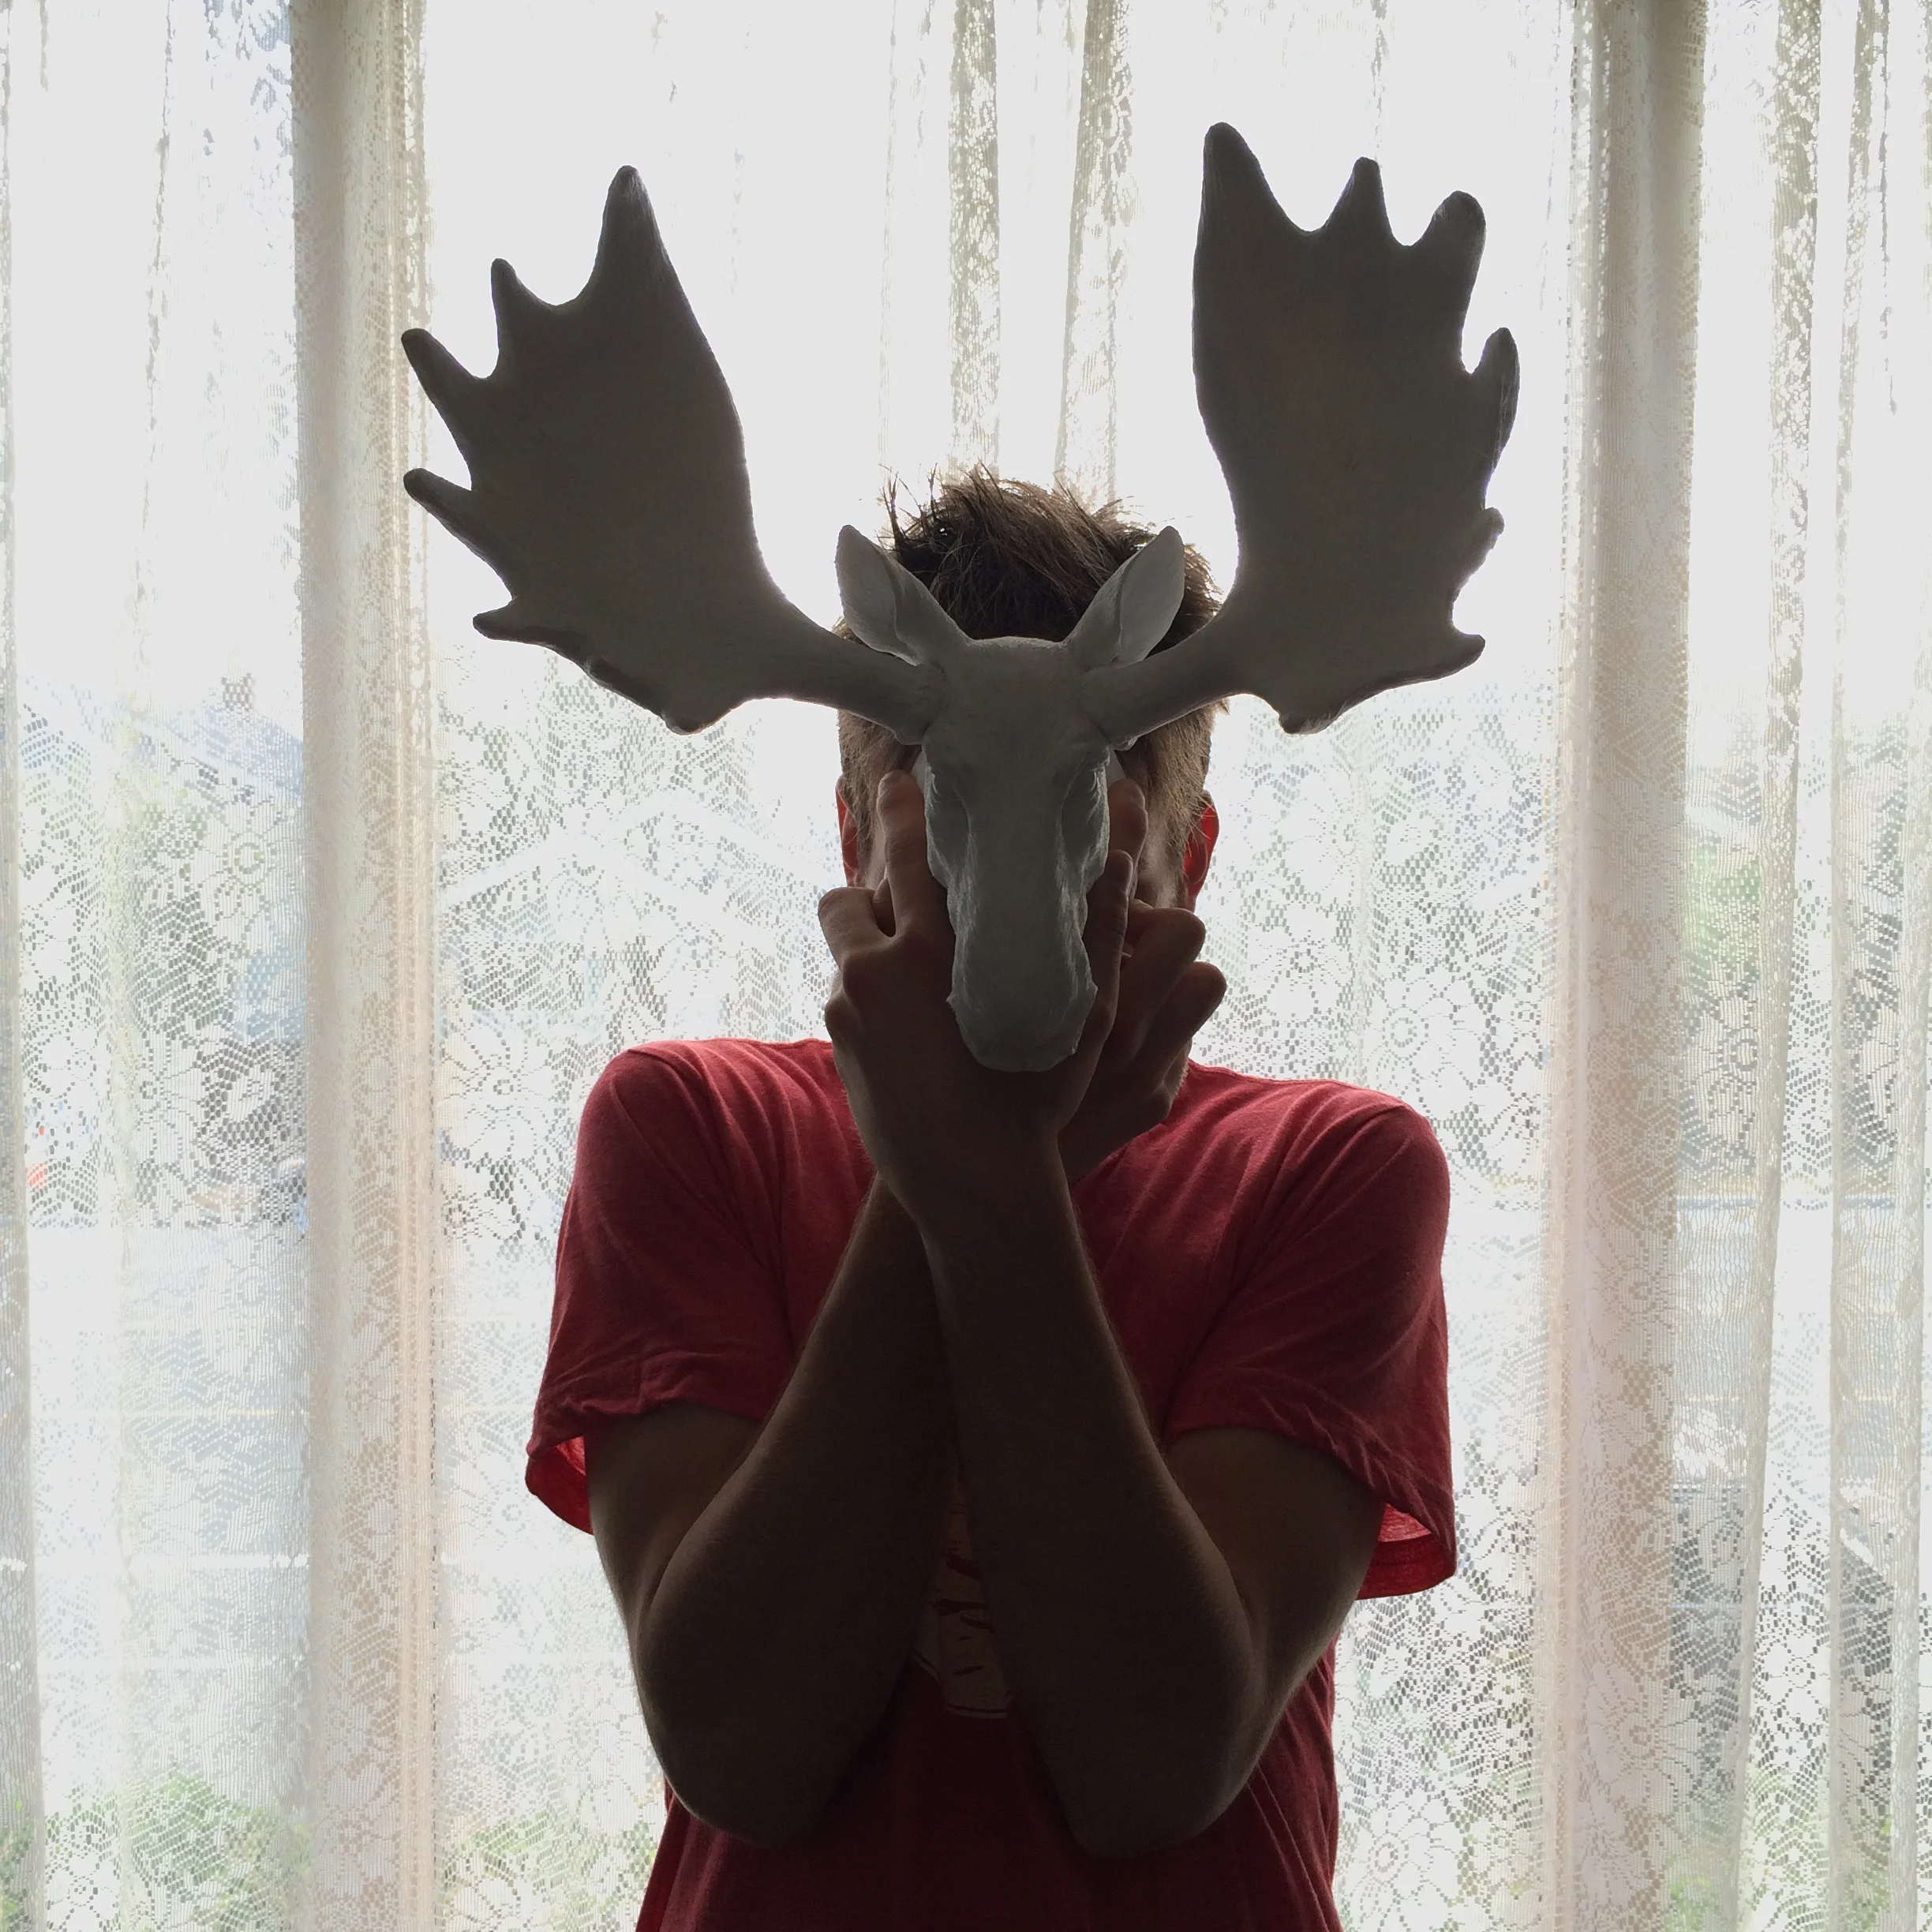
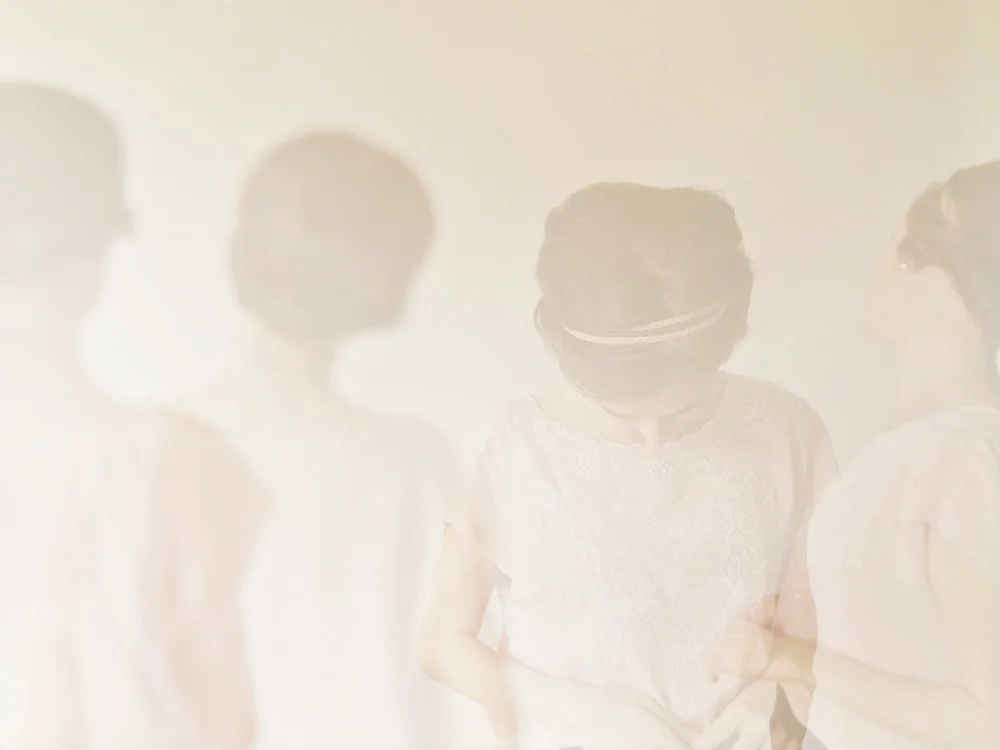
- Snapseed - I use VSCO and Snapseed interchangeably. My photos go through both apps, and not in any particular order. I like that with Snapseed you can make very minor adjustments, whereas VSCO adjustments can be a little more intense. Snapseed also has this amazing tool called “selective adjustment”, which allows you to edit only the part of your photo that you select. It’s great for brightening things, or adding a bit more contrast. For the photo below, I made my boyfriend stand in front of a window so he was backlit. The curtain was white, but you could still see through it a bit. With the selective adjustment tool I was able to select just the curtain and blow it out so the background is entirely white.

3.How did you do that?
I get this question a lot when I’m shooting multiple exposures. There’s an amazing app called Average Camera Pro that takes multiple images for you all at once (or however long apart you set the timer), and then stitches all the photos together for you. It’s seriously magic and I’m addicted.

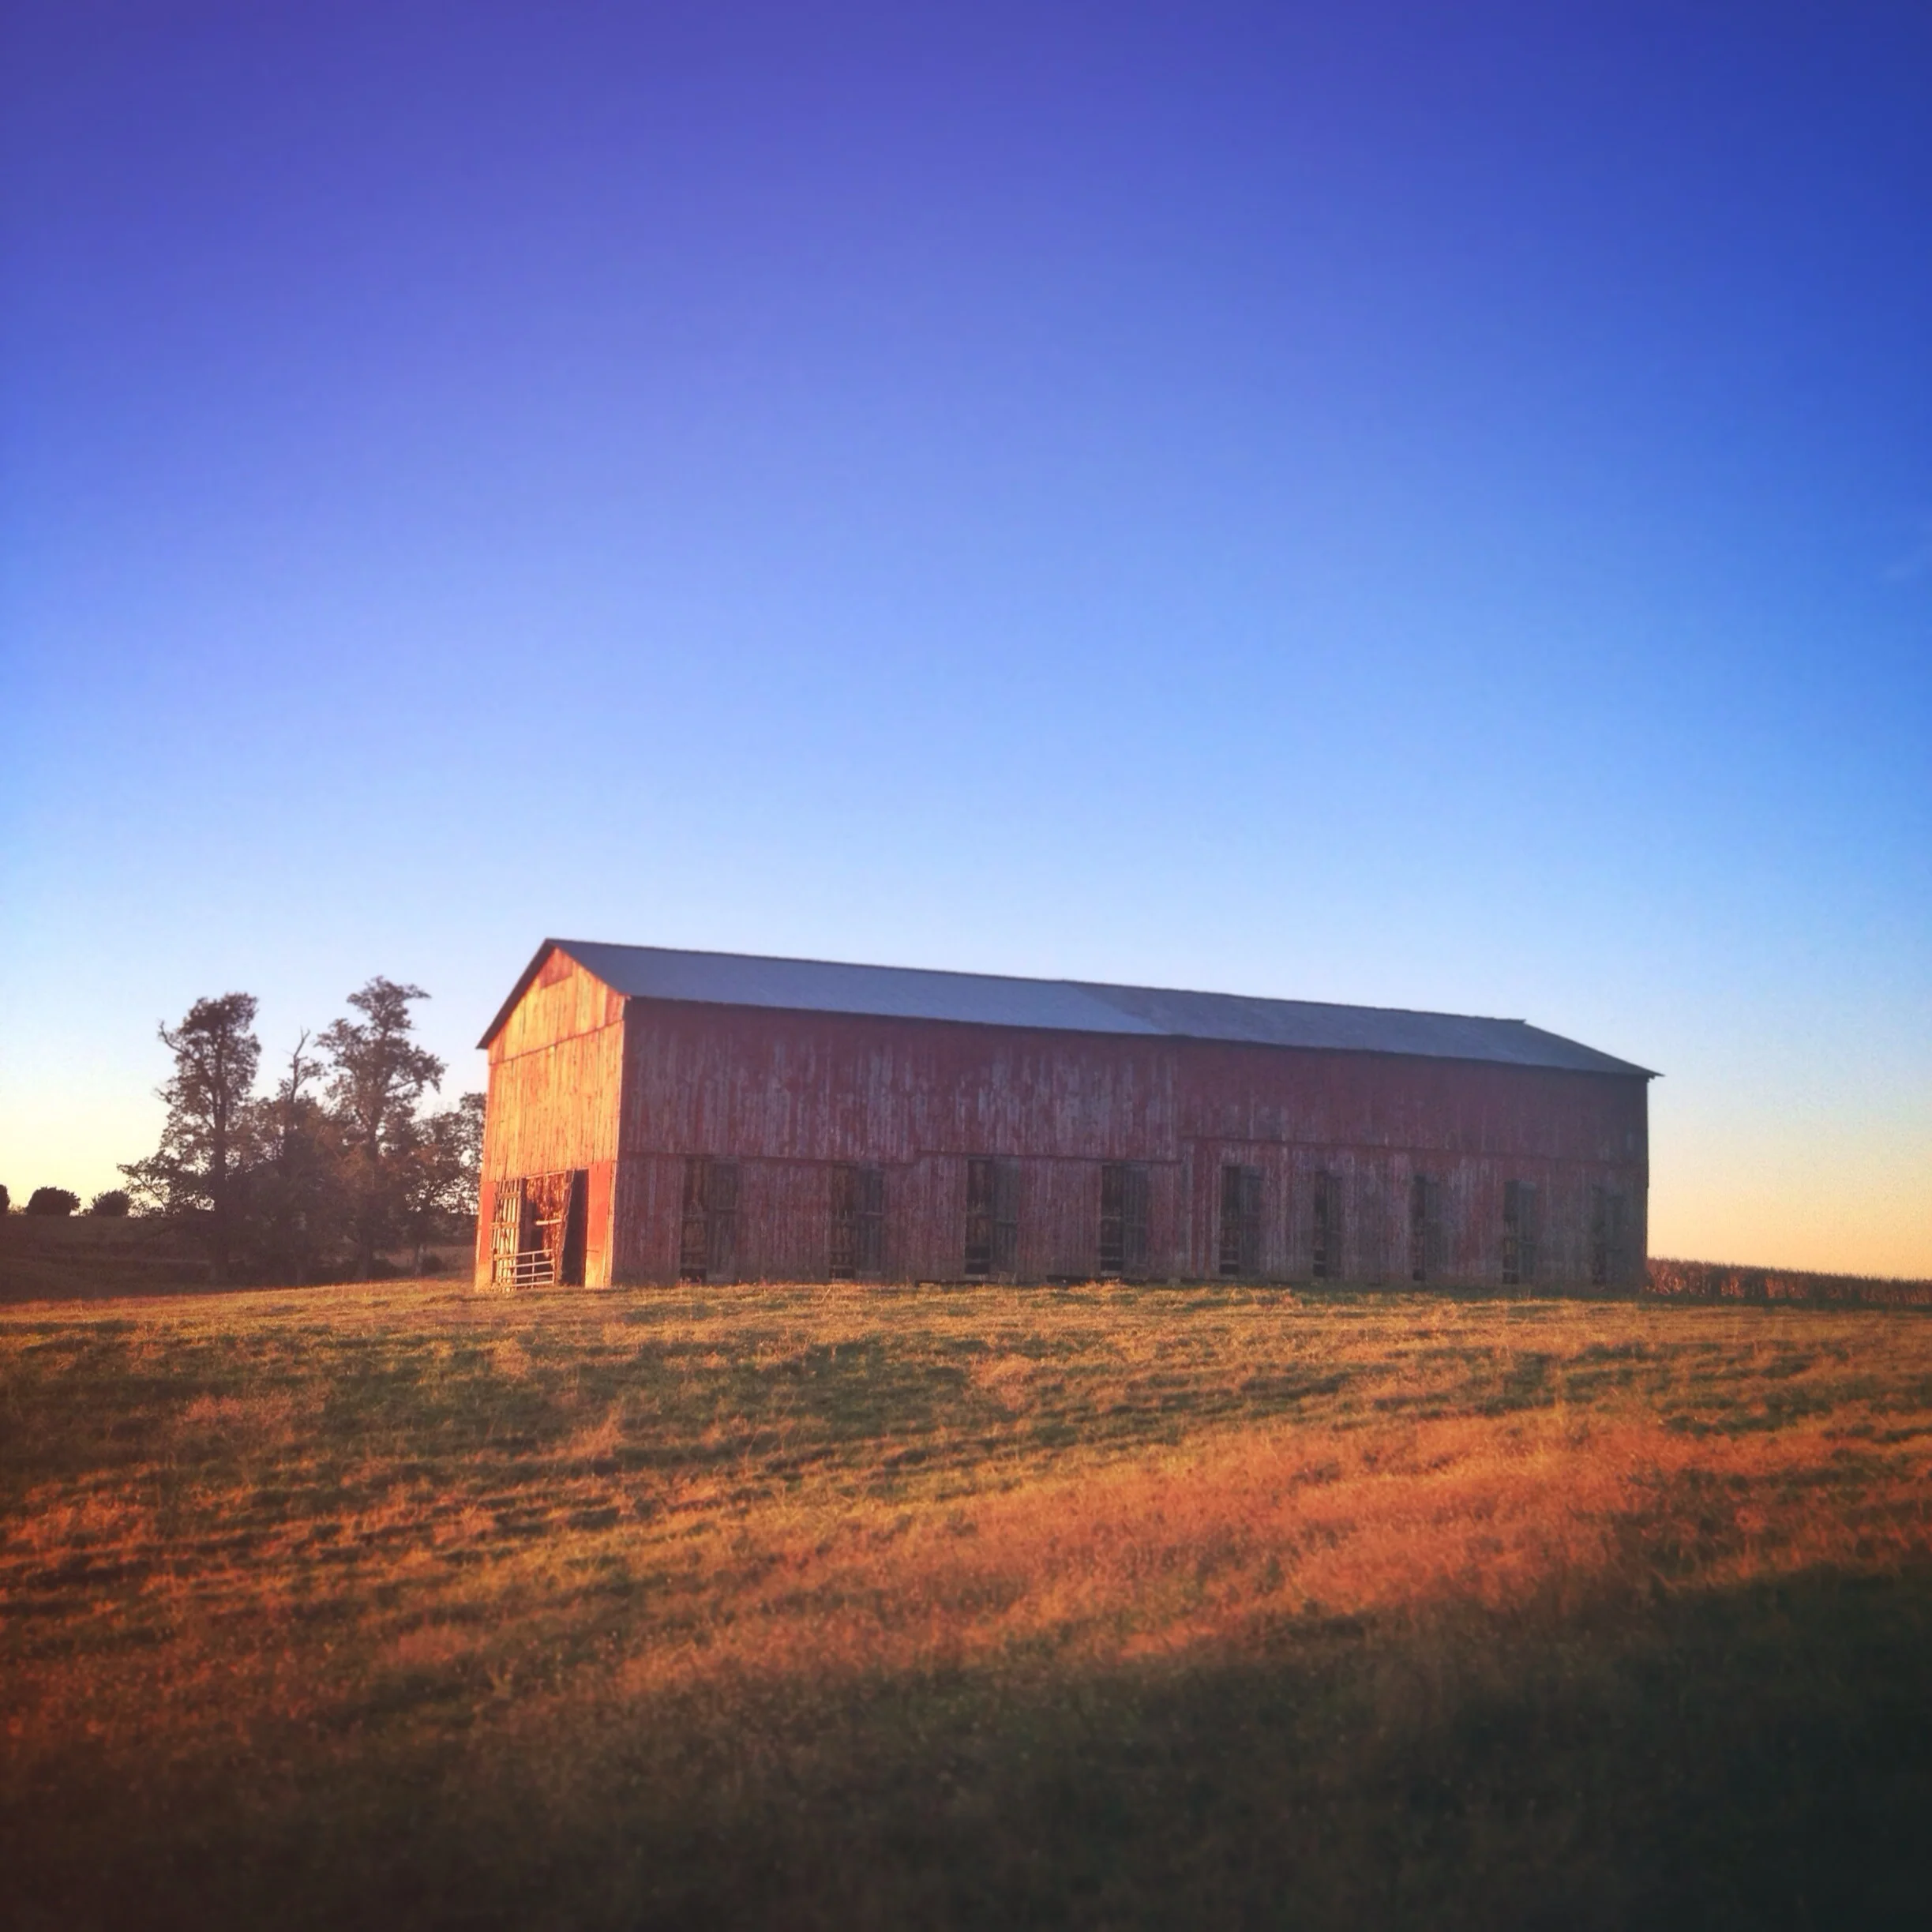
Of course, let’s not forget everything the iPhone itself can do. My favourite feature about the iPhone camera is HDR mode. I can’t tell you how many times this feature has saved my life. The part of the image you focus on is the part of the image that will be exposed properly. Pro photographers often will take multiple shots of the same setting, but will expose each photo slightly differently. They then take all those photos into Photoshop and basically cut and paste the exposed part of the photo together. I’ve done it, and it takes foreverrr. And then the iPhone comes along and has HDR mode already built into it, allowing me to properly expose my entire photo. By turning on HDR mode in your iPhone, you can select the part of the photo you want to be properly exposed (i.e.: tap on something that is dark in the photo like a tree), and then when you click the shutter, the iPhone will automatically expose the sky for you. A blown out white sky will appear blue, how it really appears to the naked eye. Pretty neat, huh.
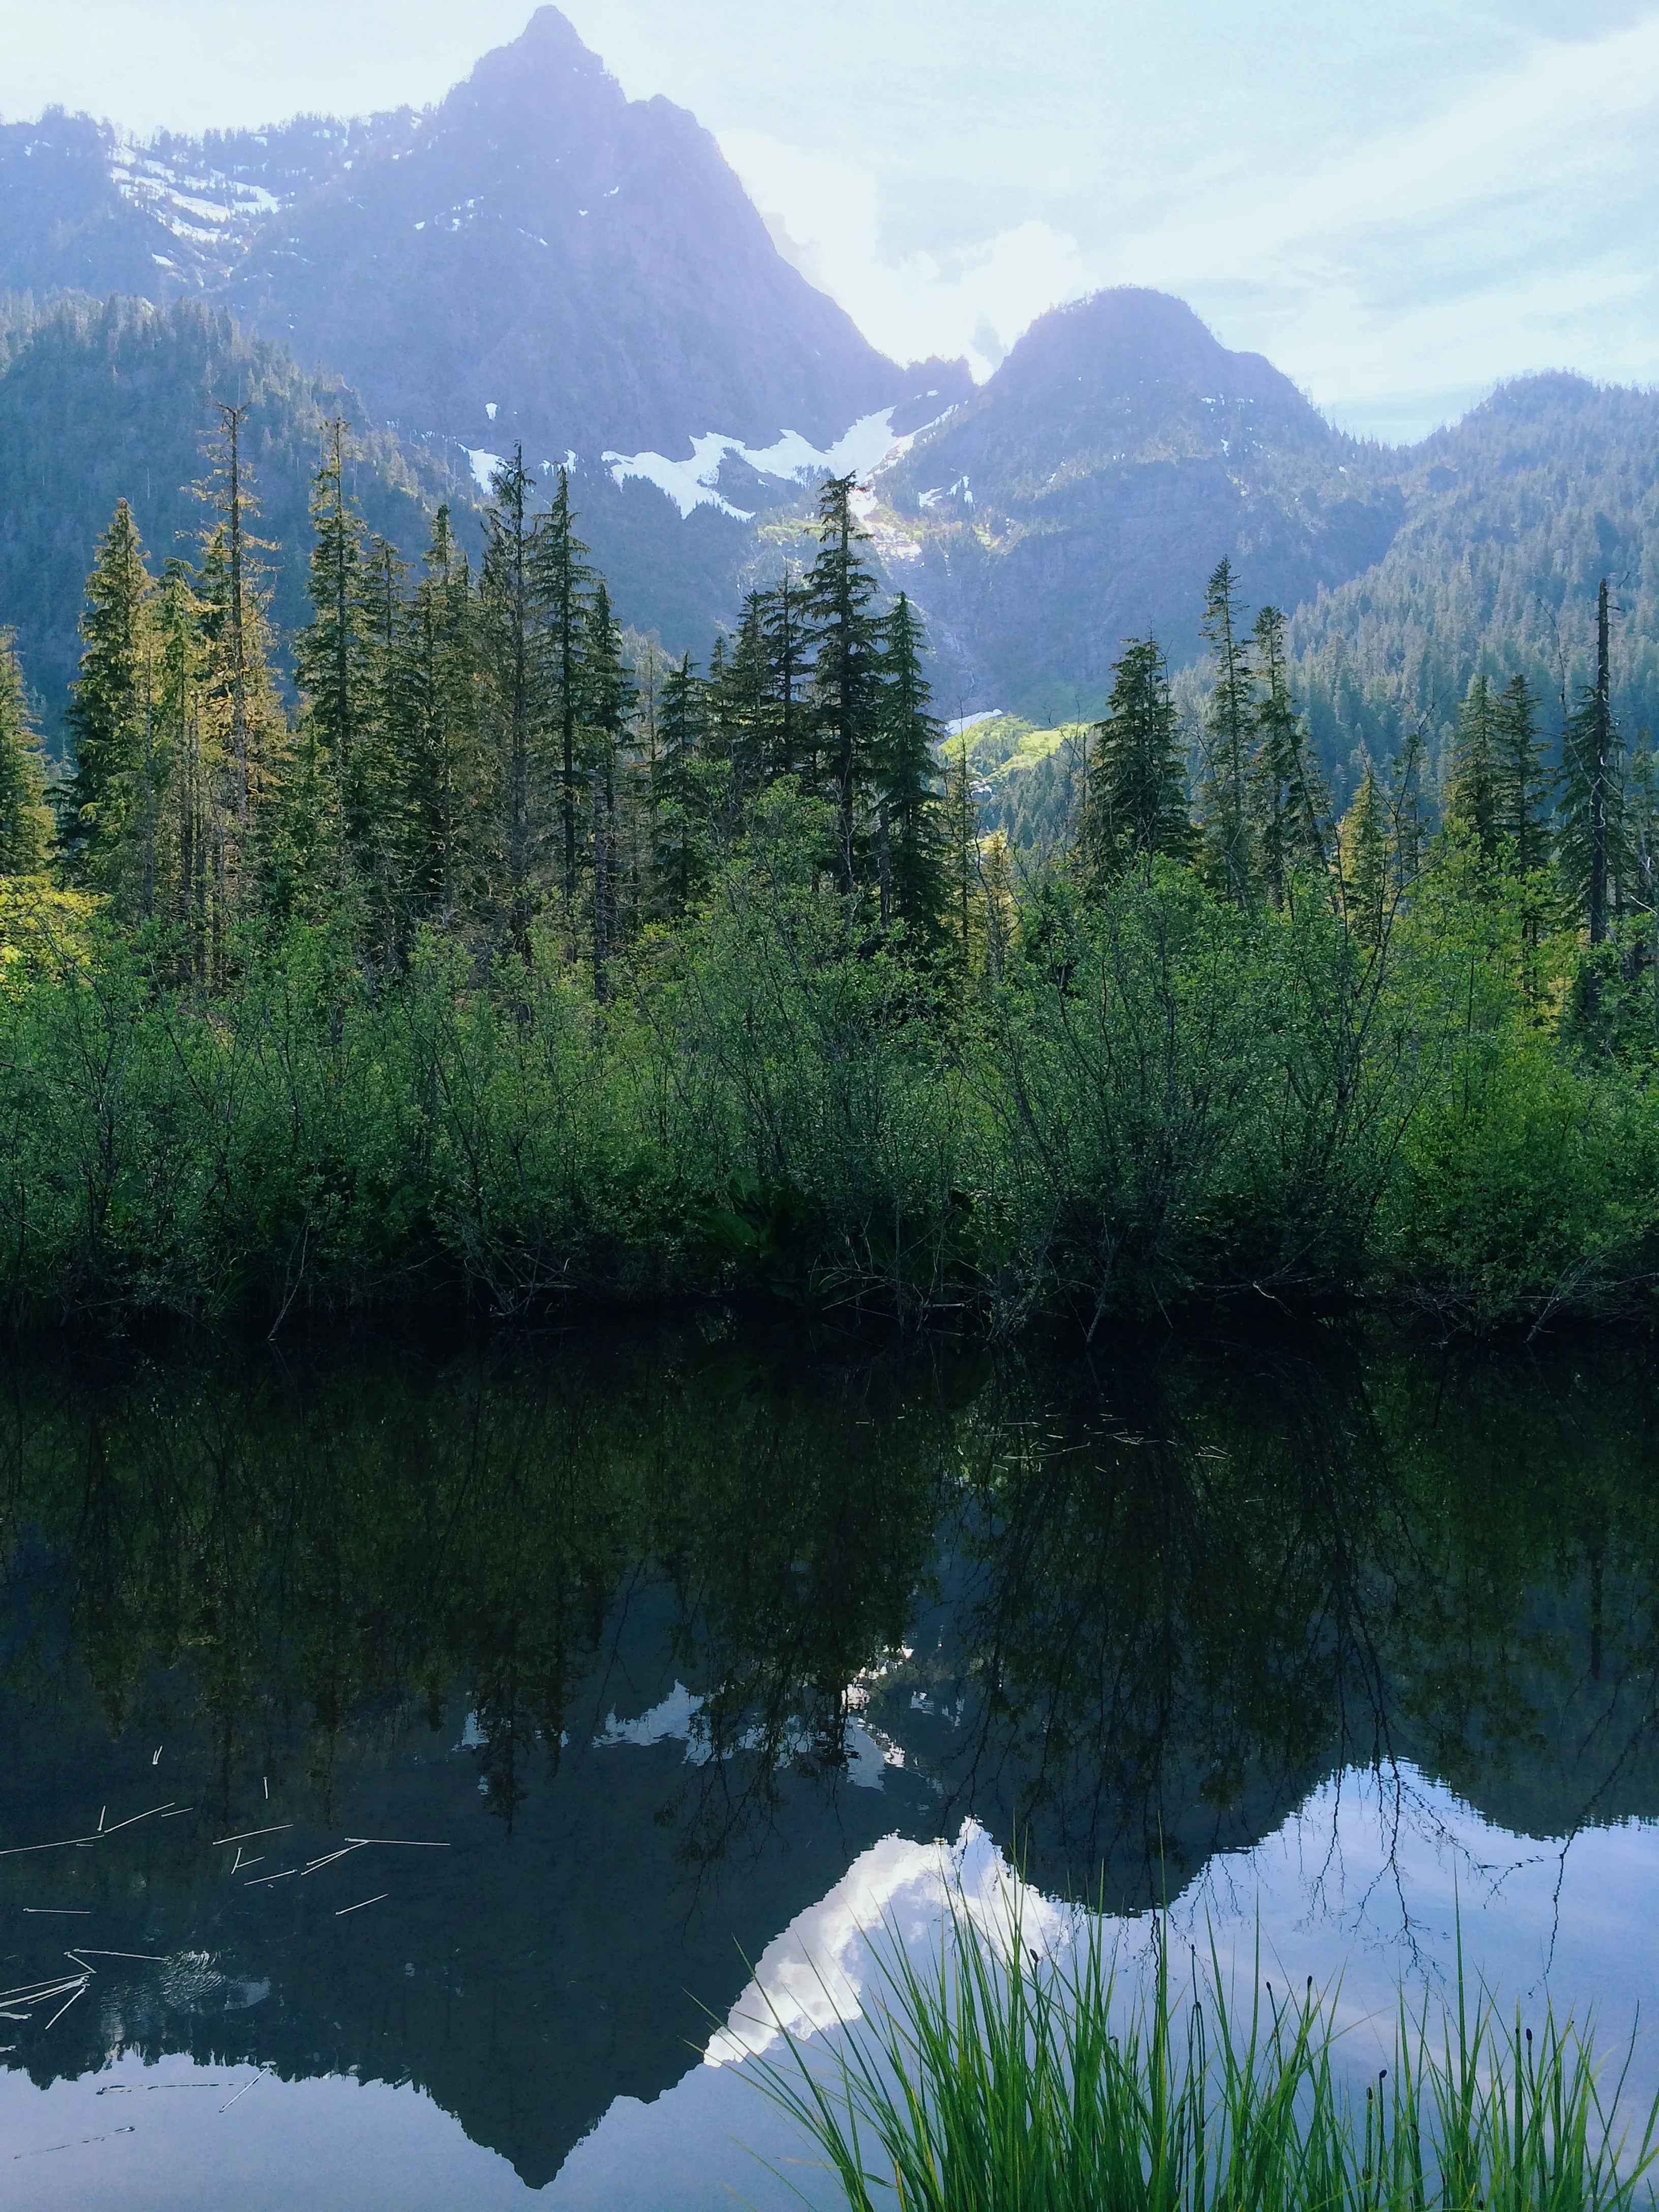
iPhone in HDR mode + VSCO cam
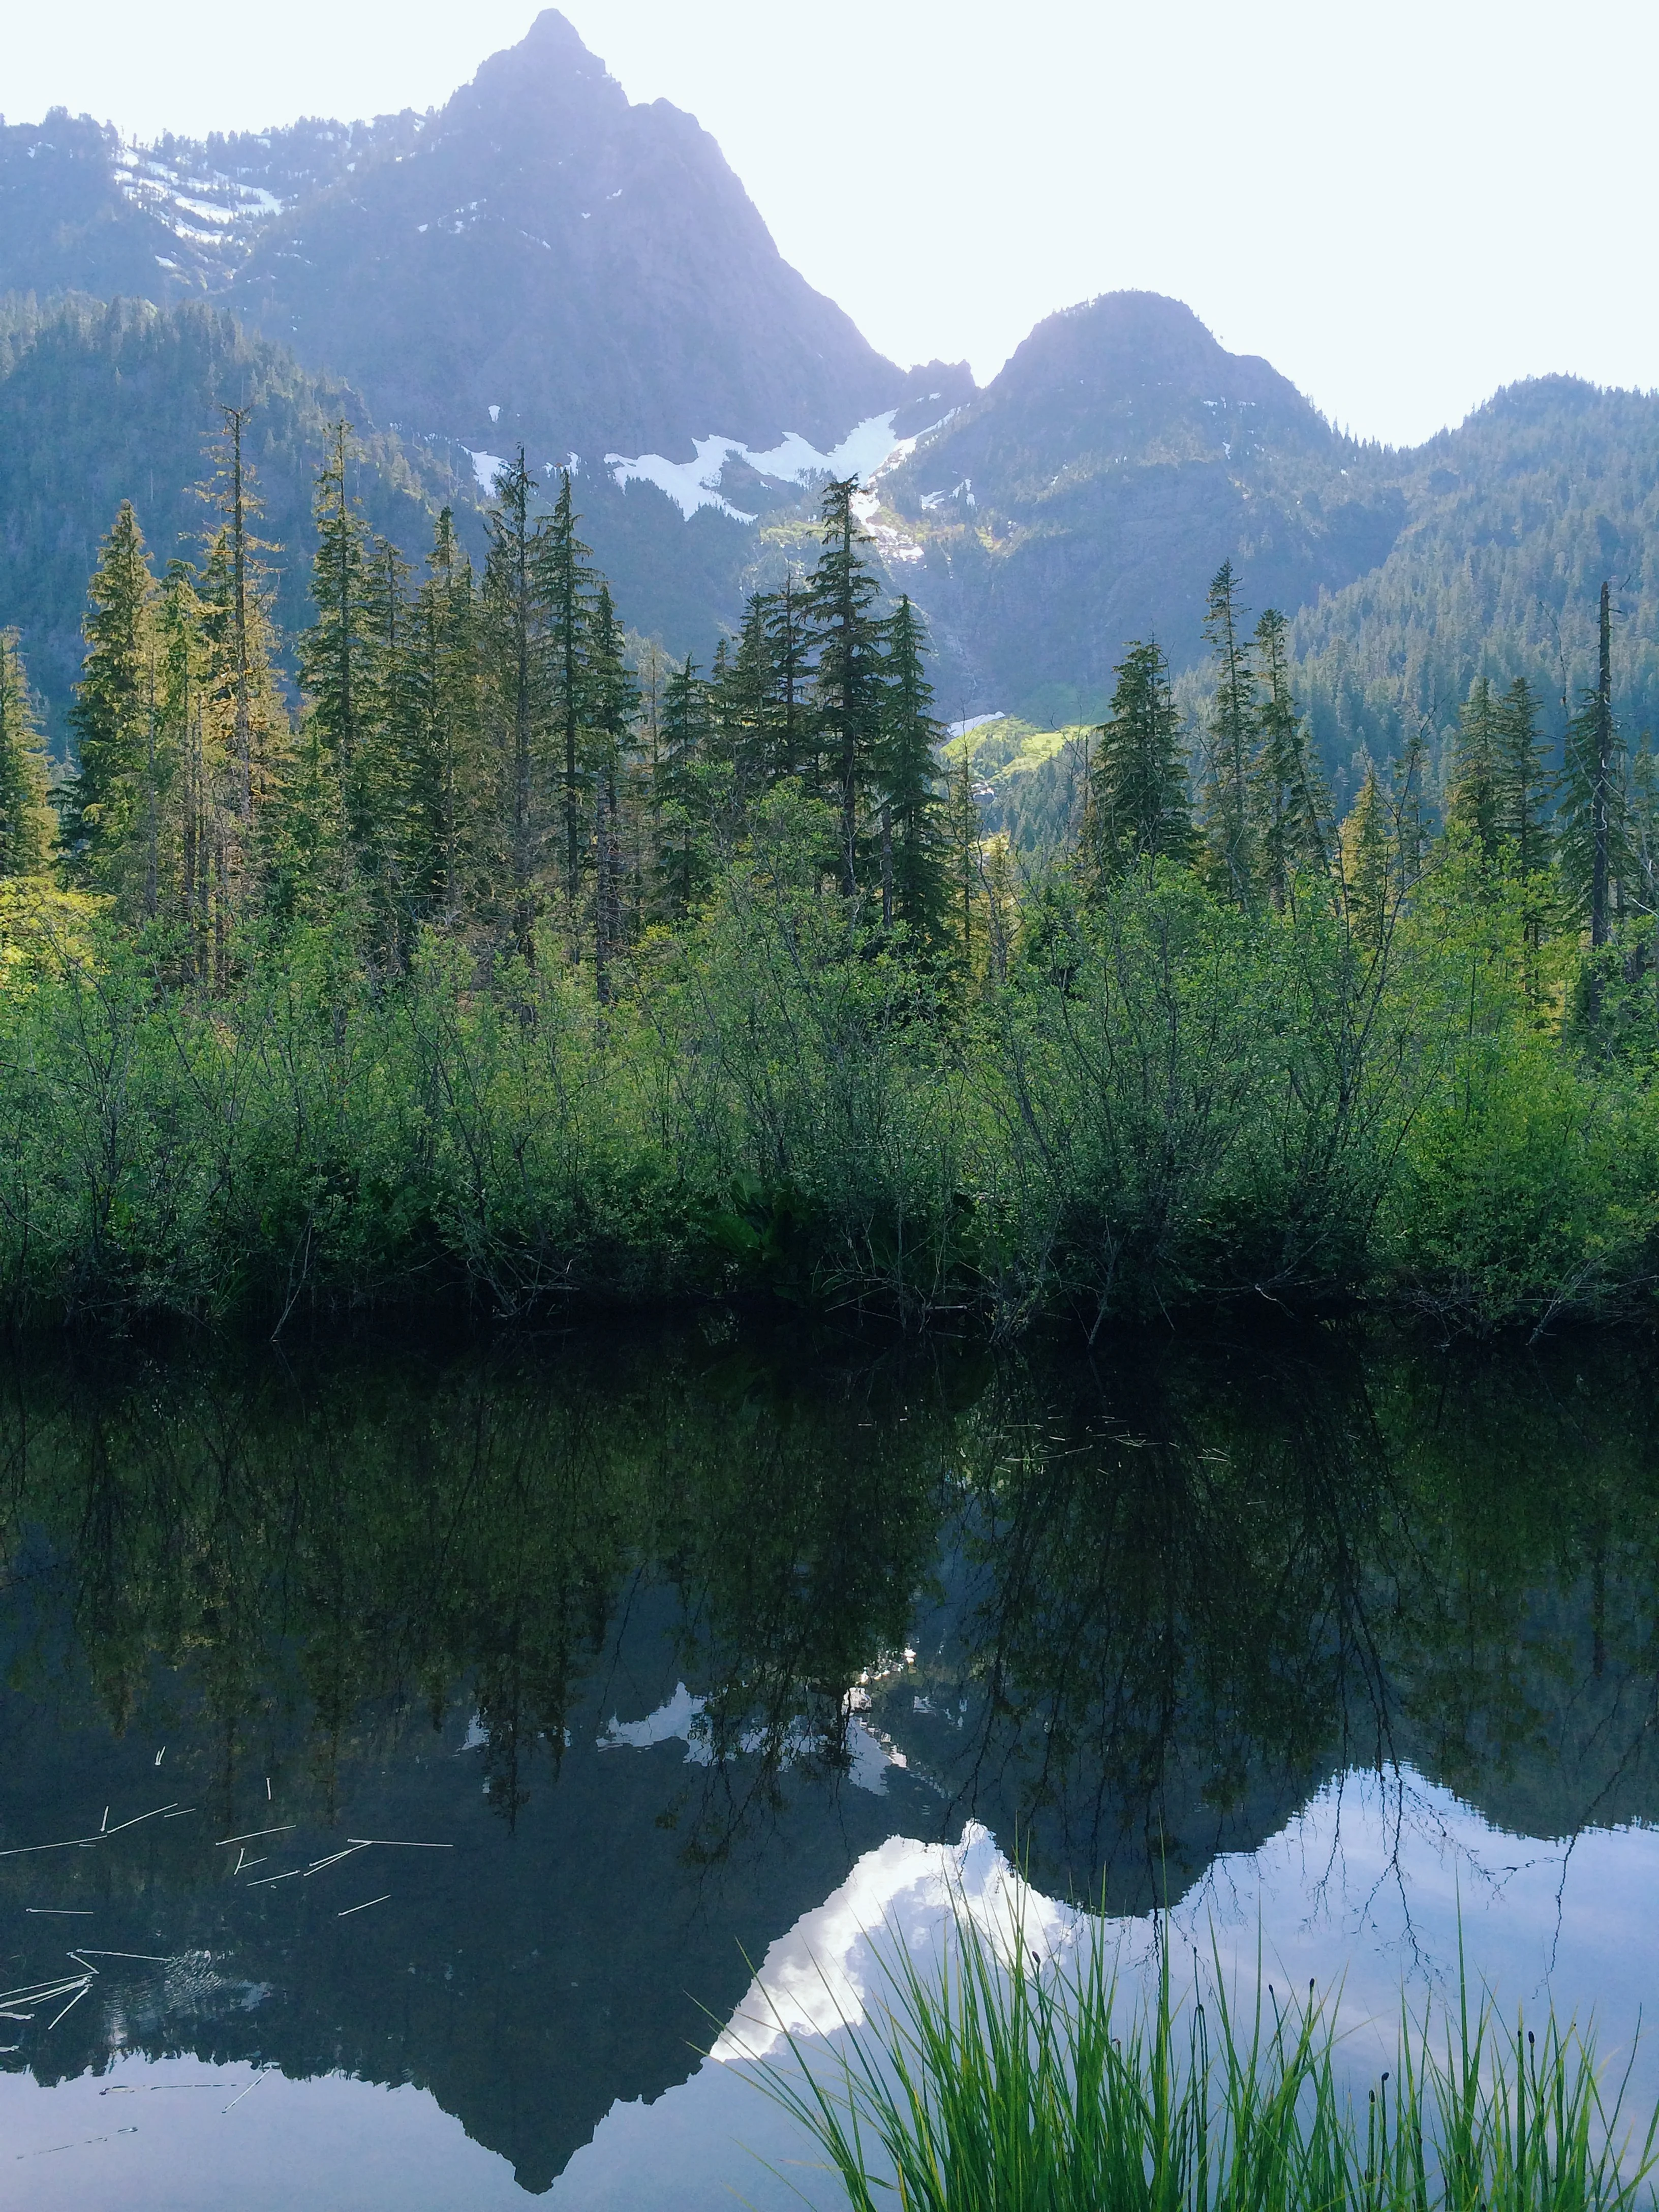
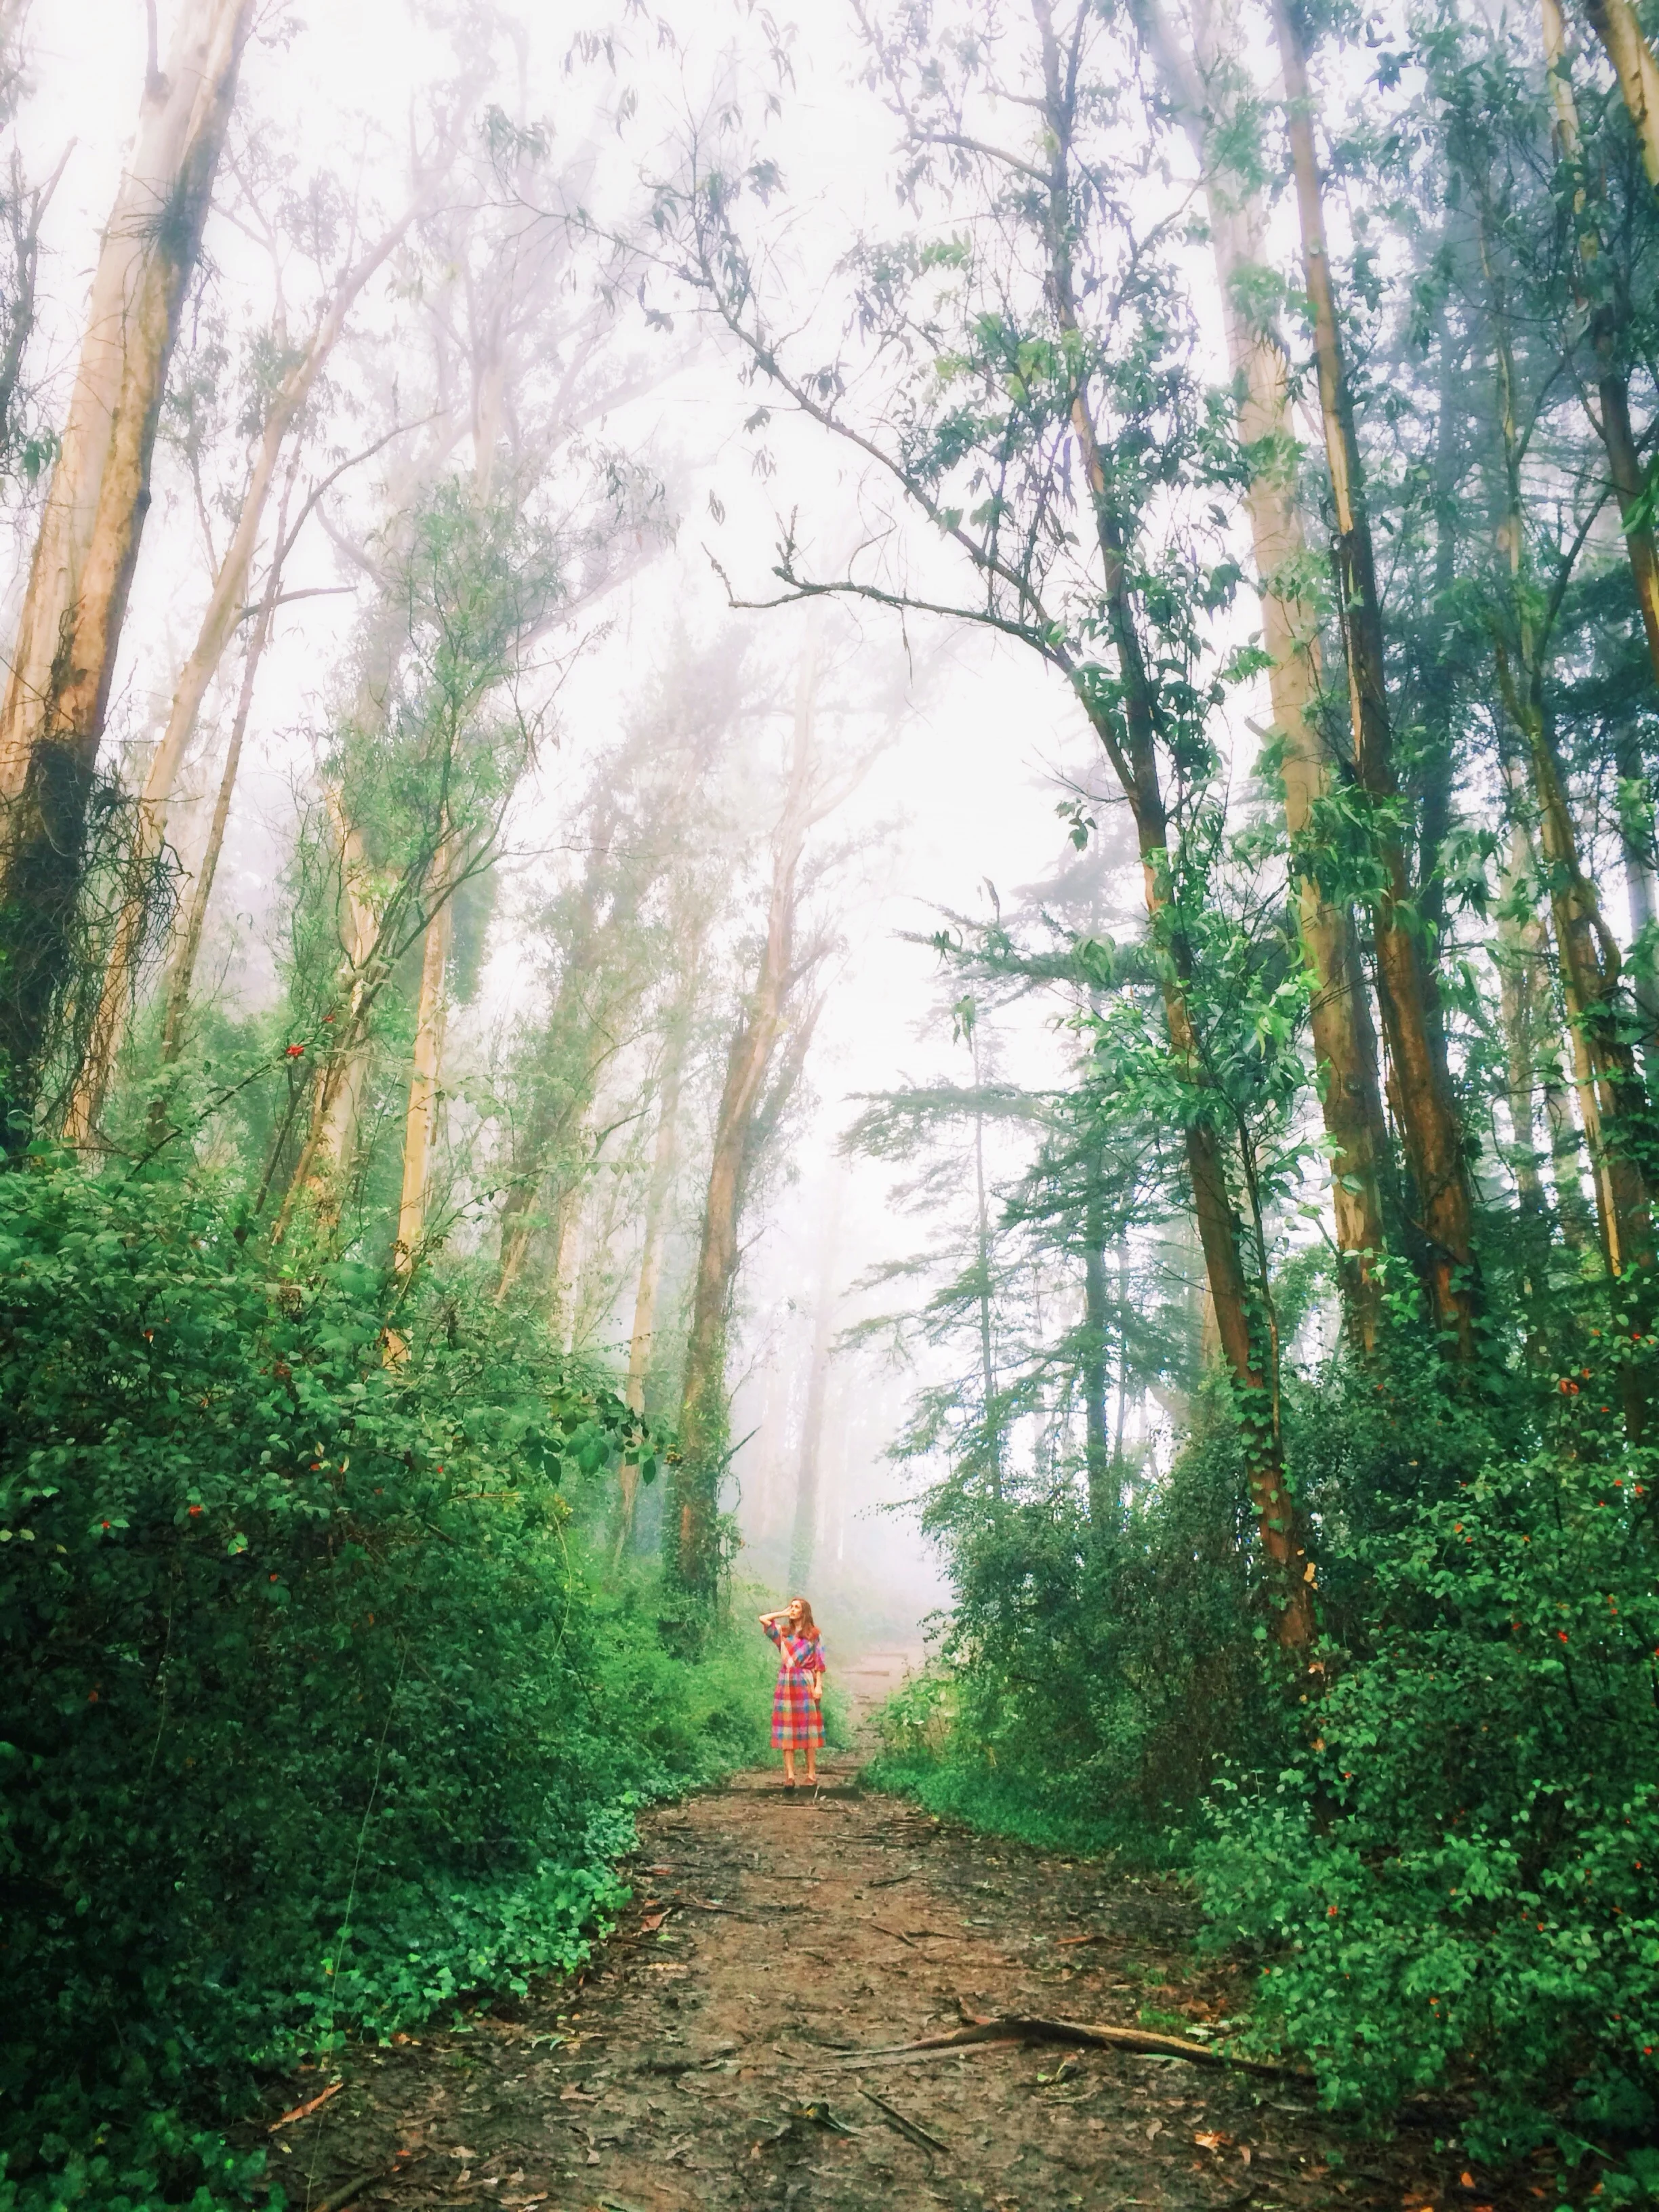
iPhone in regular mode (no HDR) + VSCO cam
My other life saver tool for the iPhone is AE/AF lock. In short, place your finger on the part of the photo you want in focus and exposed, and hold your finger there until the iPhone locks the focus into place (a little yellow box will appear and lock). Once your phone is set to this mode, it doesn’t matter if your subject moves, because the focus and exposure will still be locked. For the below photo, I put my iPhone onto a gorillapod tripod, pulled my black curtain into frame and locked my iPhones exposure and focus on it. Then I moved the black curtain out of the way and stood in its place. Since the exposure and focus were locked, I was able to then step into frame and take this self portrait, keeping it exposed properly, and keeping me in focus. I used an iPhone remote shutter to take the actual shot.

My last tip is simply to shoot, shoot, shoot! Photography is like everything else, it takes practice. Musicians spend hours playing their instruments and people who play sports practice several times a week. It's the same with photography. You have to take photos if you want to improve. Experiment as much as you can. Try new things. And the easiest, simply get outside into nature. With a world as pretty as ours, you're sure to come out with something ;)